
Broken axle means time to upgrade!
Posted: May 29, 2022 Filed under: Travel | Tags: broken, cadillac, repair Leave a commentHere’s a story of the details of what happened on the run to check the Long Lake Trail last week.
On the way out, I heard a strange sound coming from the front driver’s side tire. Before attempting the lower hairpin on Cadillac Hill, I stopped to check it out.
It was pretty easy to find where the noise was coming from. This was taken at the staging area. When I first checked it, there was no scrapes on the yoke. It appears that the ears of the outer shaft broke first, as the u-joint is undamaged but missing both caps.
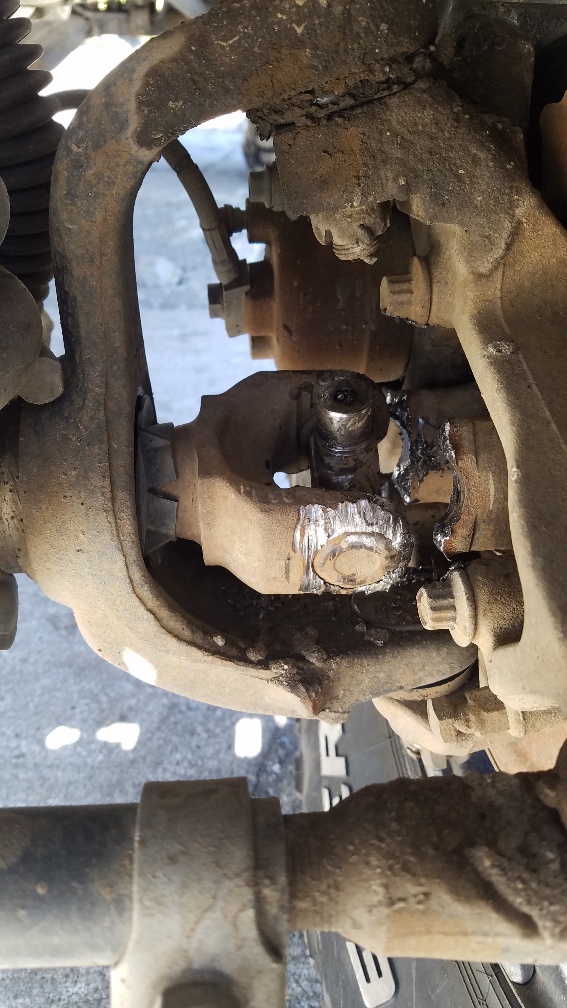
We figured it was easiest to just leave it as it was and just drive out. Luckily, with a Rubicon model TJ, I still had three-wheel drive with both lockers engaged.
As the broken ‘ears’ were slowly bent out, contact was made with the knuckle. Fortunately, the axles I was going to put in required just such an extra clearance.
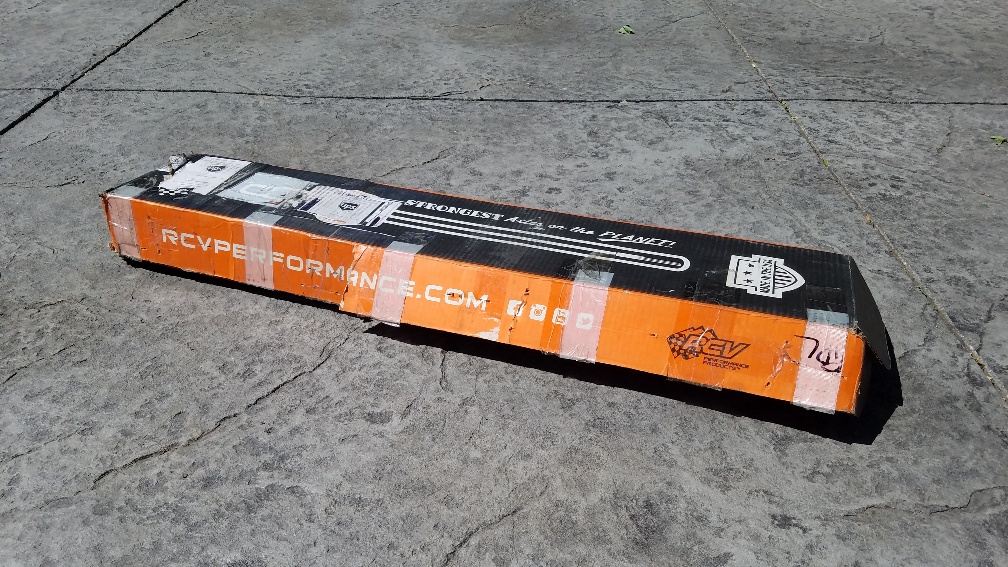
Enter RCV axles! If you’re going to upgrade, go all the way.
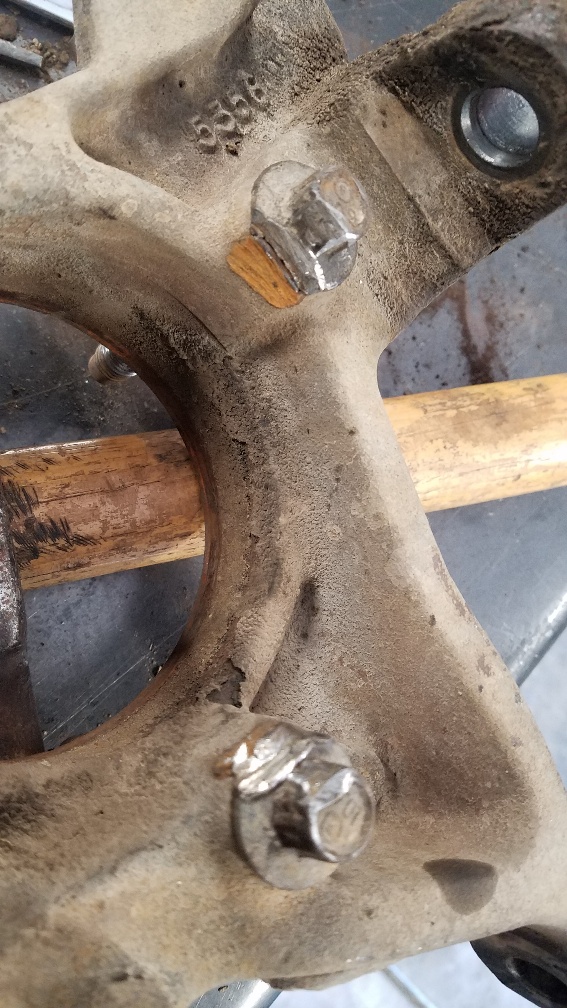
The driver’s side inner axle had been ‘hammered’ into the axle housing. It took a few hits with a big hammer to free the axle. The proper move might have been to remove the outer shaft as soon as possible.
A 4 1/2″ angle grinder was used to clearance the knuckle for the boot of the new axle. They were then cleaned and painted.

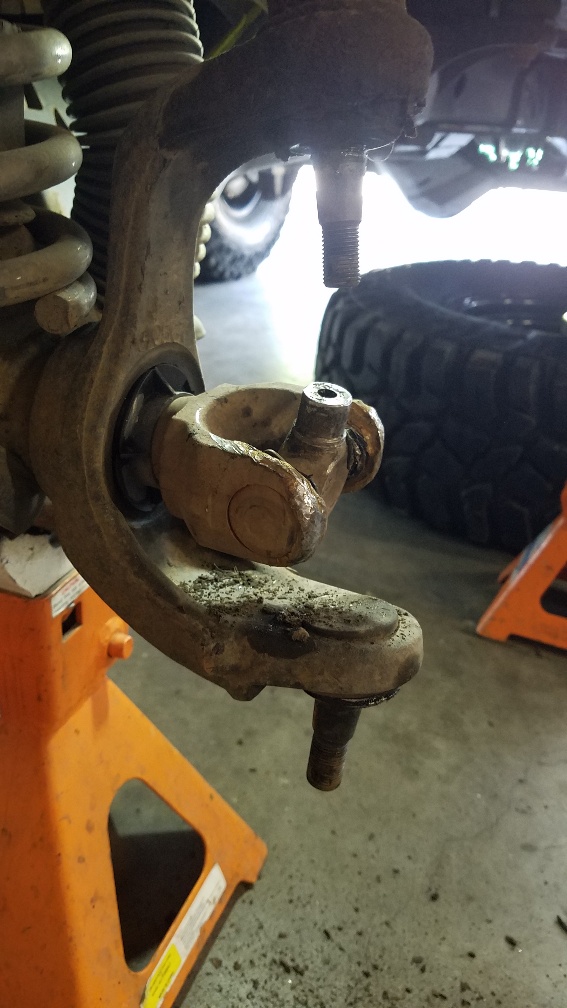
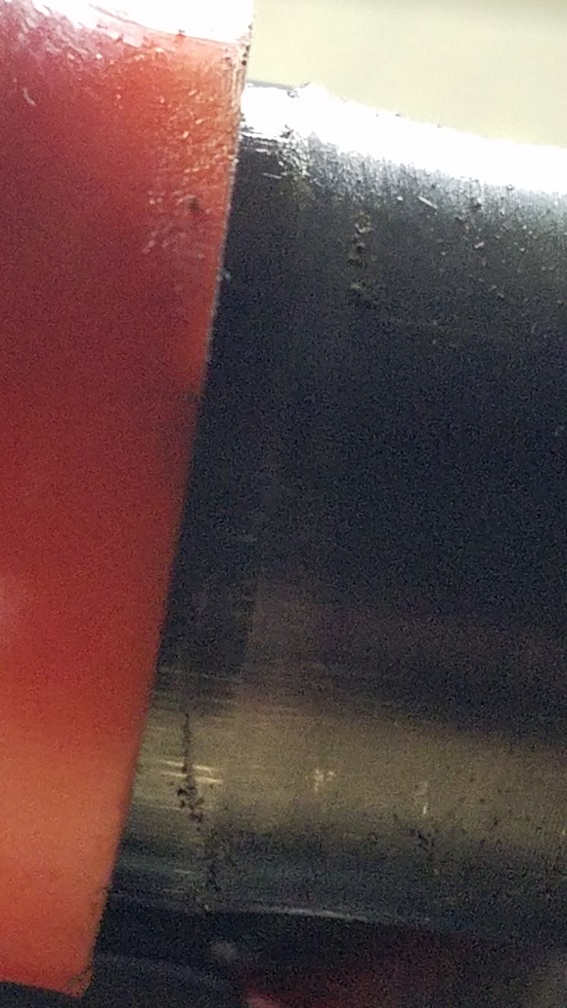
The new axles in place. Very distinguishable with the bright orange boot. This is a fully seated boot on. Easier said than done.

The manufacturer provided a sleeve to hold the boot as you slide the axle through it. But seating it properly was a pain; theirs is on the left side below with the hood. That was for before you installed the brake shield and unit bearing.
I built the one on the right to use after the unit bearing had been installed.

With a pair of pry bars, I was able to fully seat the boot. Or so I thought. I actually had to use the manufacturer’s piece and mine together to fully seat the boot. I’ll be making a thicker unit to carry with me in case I need to reseat the boot on the trail.

If you’re doing an RCV axle installation, make sure the boot is on far enough to see the edge of the boot seat surface.
As if a broken ear on the trail at the base of Cadillac Hill wasn’t enough, when I took apart the passenger’s side, I discovered that I had thrown a u-joint cap but the joint hadn’t come apart yet.

My axle was not the only issue. A fellow traveler lost all of his power steering fluid due to a fitting coming loose. That was an easy fix: tighten and refill. Between the six rigs we had what we needed.
I will admit that I had not loaded all of my trail boxes for this trip. I loaded more for clearing trees from the Long Lake Trail and possibly spending the night than I did for repairing a broken rig. The lesson is to bring everything you can on every trip.
.
Rubicon Ronin

