
2026 FOTR Meeting this month
Posted: March 1, 2026 Filed under: Uncategorized | Tags: AAT, adopt-a-trail, FOTR, maintenance Leave a commentI just got the official word from Friends of the Rubicon (FOTR) about the 2026 planning meeting…
Saturday, March 21st, 10am, Placerville
Hello Friends of the Rubicon!
We’re thrilled to announce our Friends of the Rubicon Annual Meeting on Saturday, March 21st, from 10:00 a.m. to 1:00 p.m. at:
American Legion Post 119
4561 Greenstone Rd
Placerville, CA 95667We’ll be discussing key projects on both the Tahoe and El Dorado sides of the trail, as well as FOTR and Adopt-A-Trail collaboration for the 2026 season.
We’re thrilled to announce our Friends of the Rubicon Annual Meeting on Saturday, March 21st, from 10:00 a.m. to 1:00 p.m. at:
I would like to extend a special invitation to all Adopt-A-Trail clubs to attend and share your input on the future of the program. We welcome your thoughts and ideas on how we can improve moving forward. There are also sections of trail currently in need of a steward, if your club is interested.
We will also be holding an election for FOTR Trail Boss. If you would like to run for Trail Boss, please let me know in advance so we can include your name on the agenda. If you have any questions about the position, feel free to reach out directly at fotrtrailboss@gmail.com.
RTF will be providing lunch, so please RSVP to help us with a headcount.
Important: The American Legion has requested that there be no alcohol at the meeting or in the parking lot. Please respect their wishes.
Please bring your ideas, questions, and suggestions — we look forward to seeing everyone there!
Thank you,
Shannon Chard.
This is your opportunity to speak out about what you would like to see done with the Rubicon Trail and to step up and volunteer to help maintain the Rubicon Trail
The main project for the Rubicon Trail this season is to build a bypass around some very wet sections of trail and to bypass the shelf road above Miller Creek. I’m sure that the Rubicon Trail Foundation (RTF) will be on hand to answer any questions you many have about this project.
.
Rubicon Ronin
Trail(head) Conditions
Posted: February 26, 2026 Filed under: Uncategorized | Tags: snow Leave a commentOkay, you guys are probably tired of the same old conditions posts but until I make some friends and actually get ON the trail, this is all I can offer you.
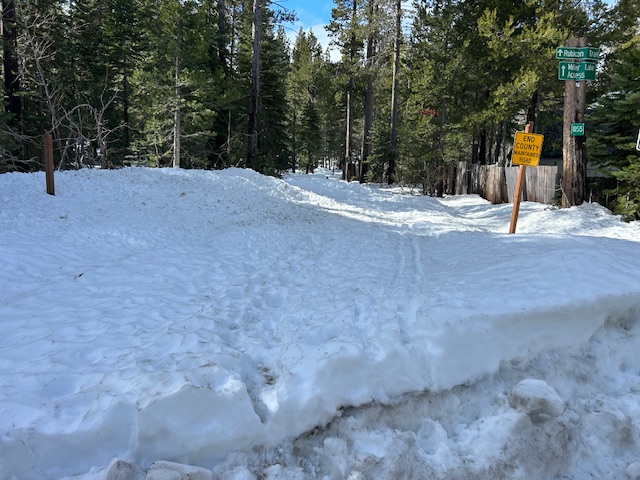
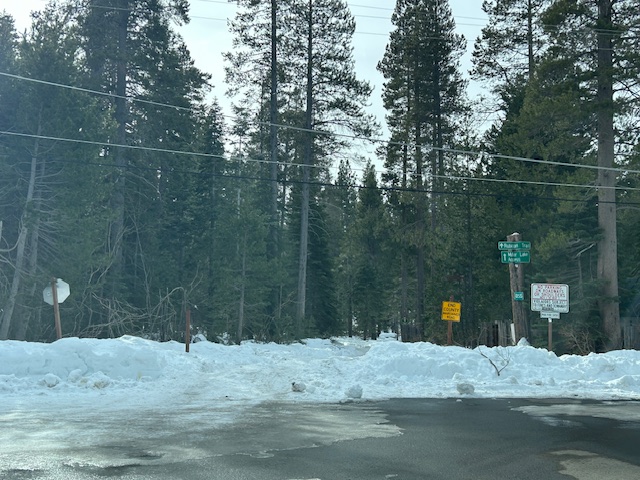
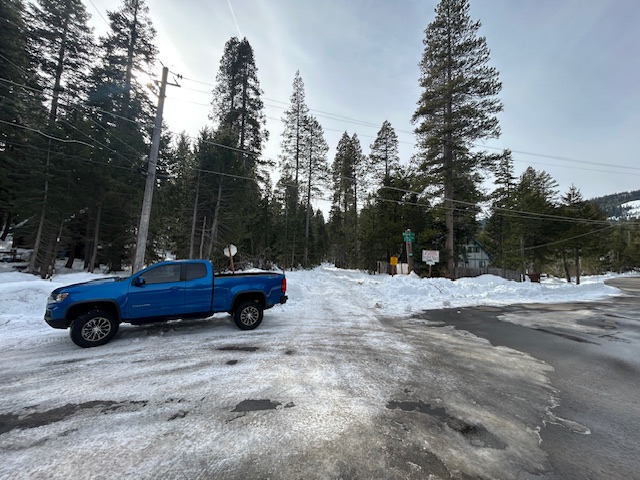
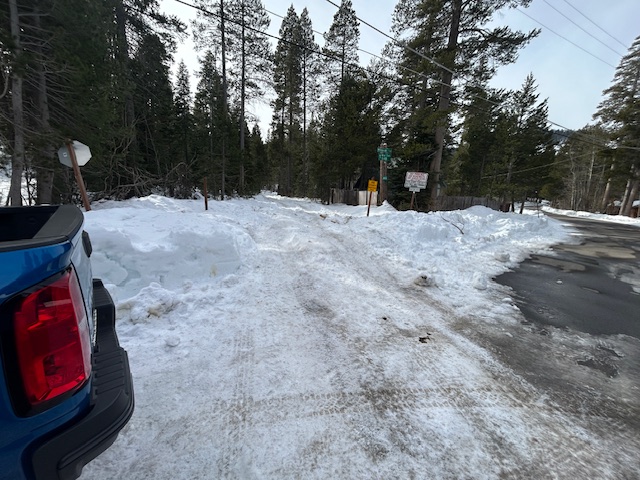
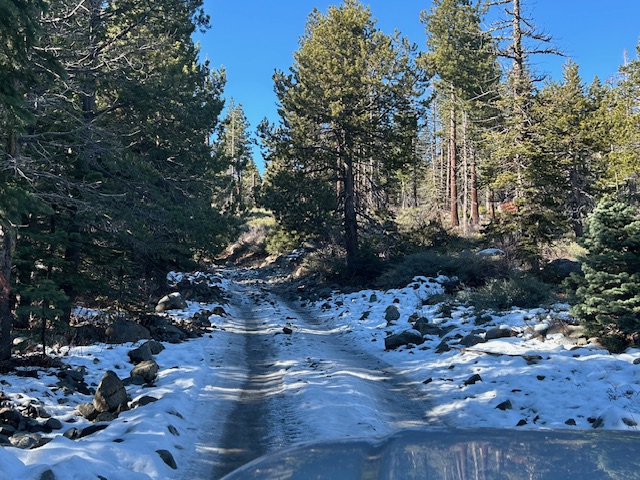
Well, here it is, again. Post storms and rain, there’s maybe a three-foot berm.
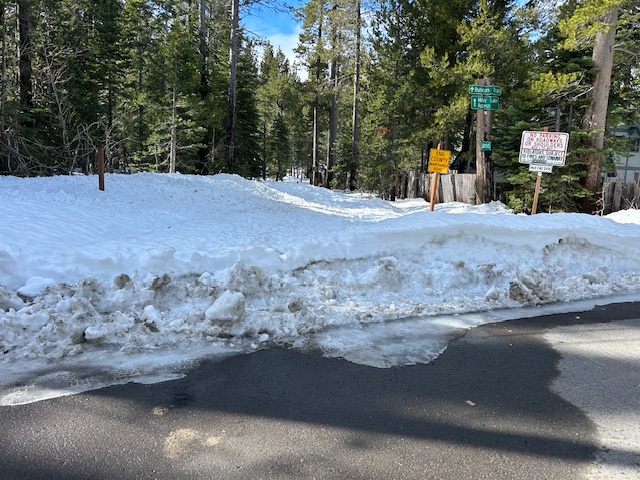
The county is doing alright, trying to do a straight plow to minimize piling snow at the entrance.
Here’s the rub and I don’t know how to get the county to change. as they plow, snow gets blown to the left side of the trail only, creating an offset challenge. Let’s call it a “gatekeeper”. Maybe notch a grove on the left side to prevent you from sliding into the ditch on the right.
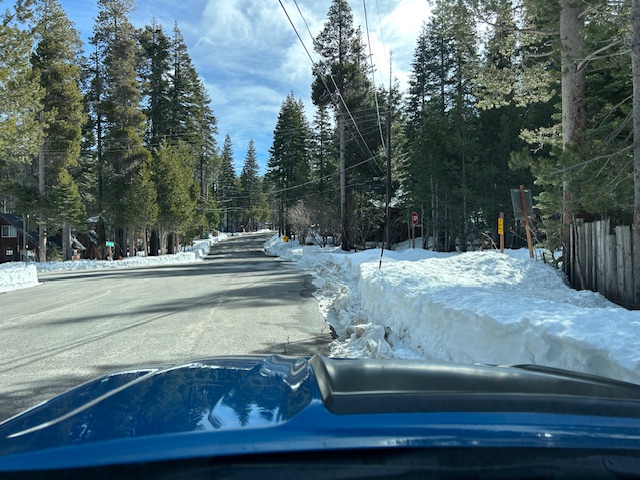
With all the rain from the last warm storm, a couple of good freezing nights should create a doable trail.
Anyone up for the challenge?
Please go prepared, don’t go alone, let someone know when you’re going and have a means of communications.
A future post will look at communication options.
.
Rubicon Ronin
Trailhead Update
Posted: January 21, 2026 Filed under: Uncategorized | Tags: snow, trailhead Leave a commentUnfortunately, no new snow. And there’s nothing in the forecast.
Not much there. Lots of evidence that people are out playing.
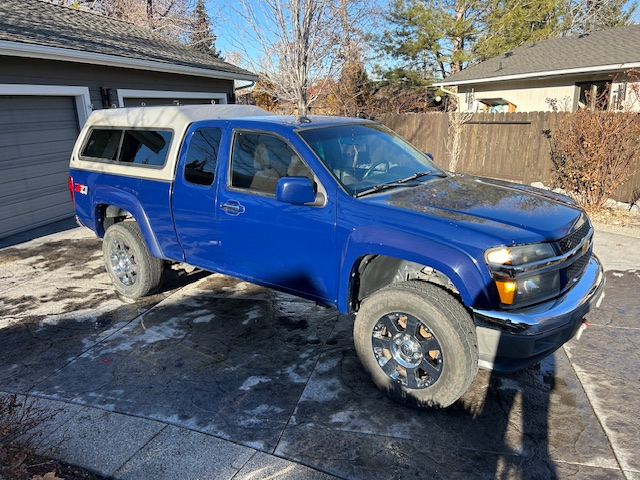
Yes, that’s my new 2021 Colorado. ZR2. I was a single vehicle, so I didn’t venture out.
Just past the entrance, there are many holes. It looks like people without lockers are getting stuck and spinning tires and digging holes.
I love the couple of logs in the snow that people used to try and get unstuck. Obviously, something worked to get them unstuck.
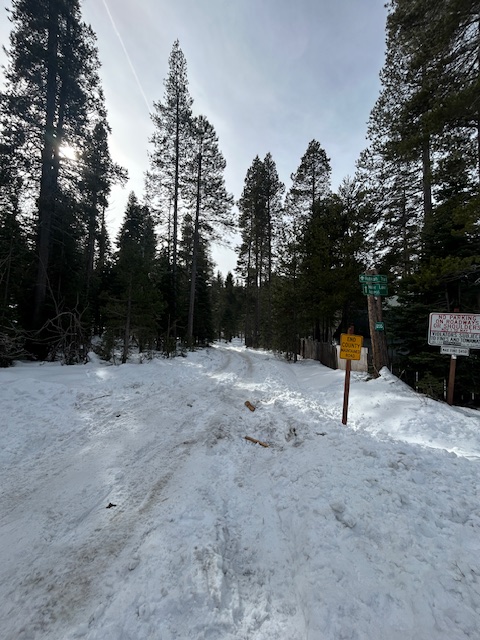
50 feet in and you’re on a nice hardpack, icy road.
New truck means the old one is for sale…
Pray for snow!
.
Rubicon Ronin
Happy New Year, brings new ball joints
Posted: January 6, 2026 Filed under: Uncategorized | Tags: ball joint, fist aid, medical Leave a commentSo, there’s now some snow, but I haven’t been skiing yet. And I keep putting off a snow run.
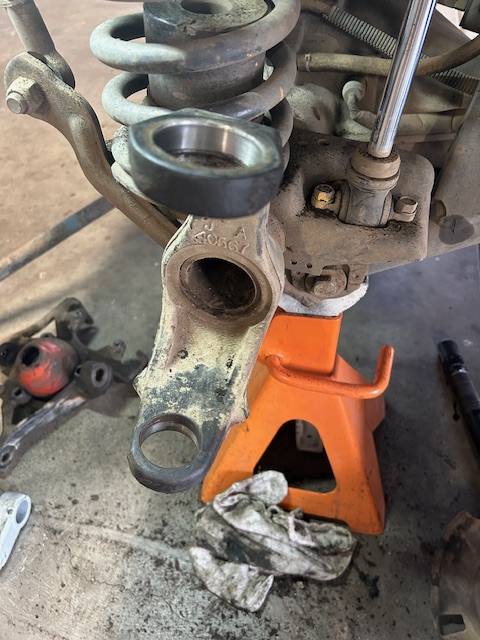
Last month (year), I changed out my left ball joints. Using the old school two-foot Snap-On breaker bar to push the old ones out and the new ones in, I pulled a few muscles in my back. I got the job done and I’m fully recovered now. Working on Jeeps is so much fun.
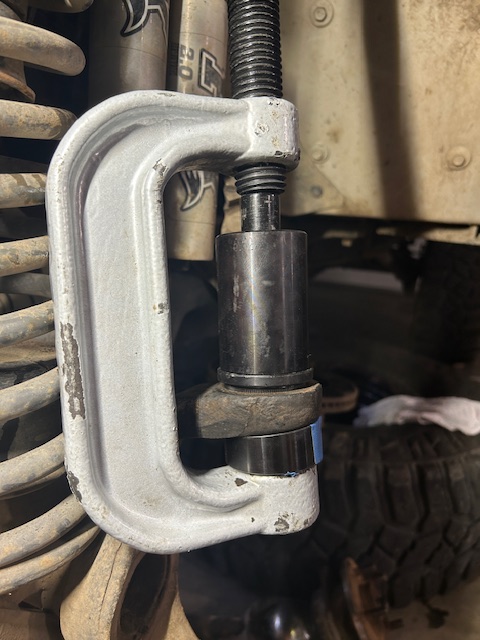
This kit is specifically for Jeep ball joints, or so I was told. It worked great. What you can’t tell from the photo is that the part in the back middle has a slight angle cut to one side. Using that piece and slowly rotating it until your press (clamp) is aligned properly makes all the difference. Amazon!
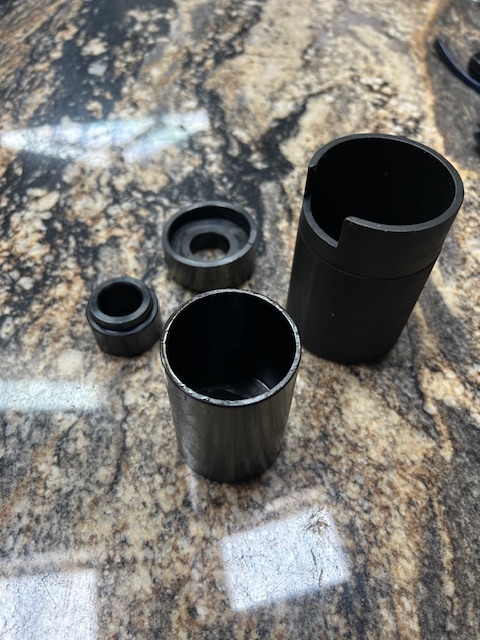
Note the slight angle on the lowest piece allowing the clamp to align. As you turn that piece while it’s set up like this, the top of the clamp slowly aligns vertically for the best press angle.
Although there was one really worn-out ball joint, so it needed to be done, the steering is still a little loose after the job, so I’m on to the joint in the column and the steering box itself.
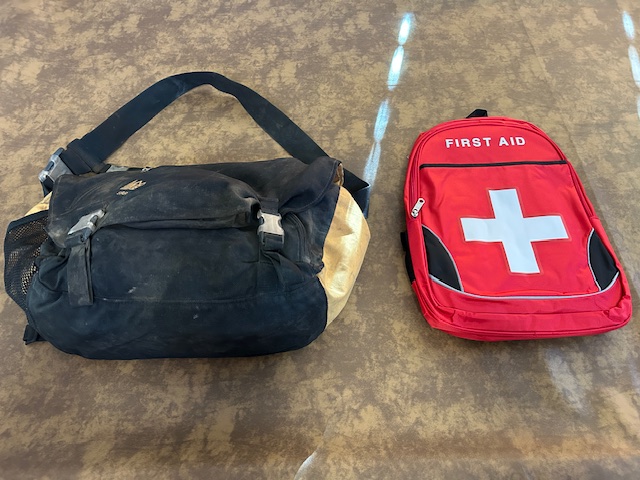
This year’s first Jeep project was to go through my First Aid bag.
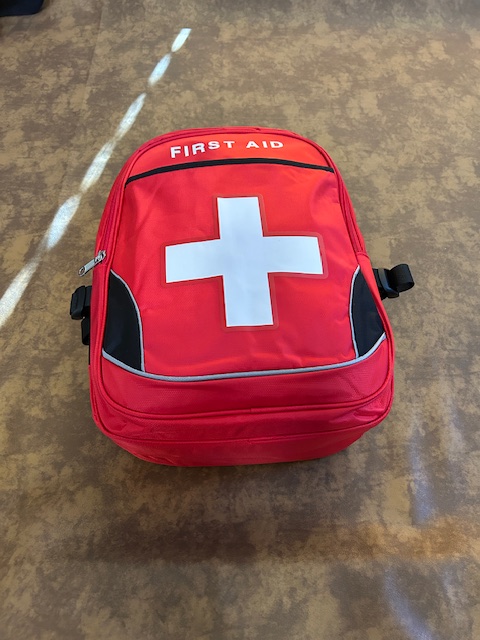
I wanted something that was a true backpack, in case I had to carry it a distance and I wanted something that screamed “First Aid”. Old and new below.
Dumping it all out let me take the time to reload expired things and dead batteries. This is most of the contents.
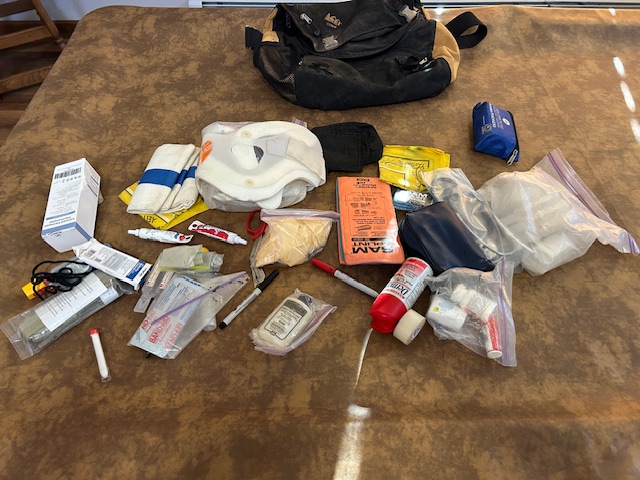
It all fit in the new bag, but the new bag doesn’t have small pockets on the inside. So, I’m still on the hunt for a new bag. But it now says “First Aid” bag, literally, if I tell someone to grab it out of my Jeep.
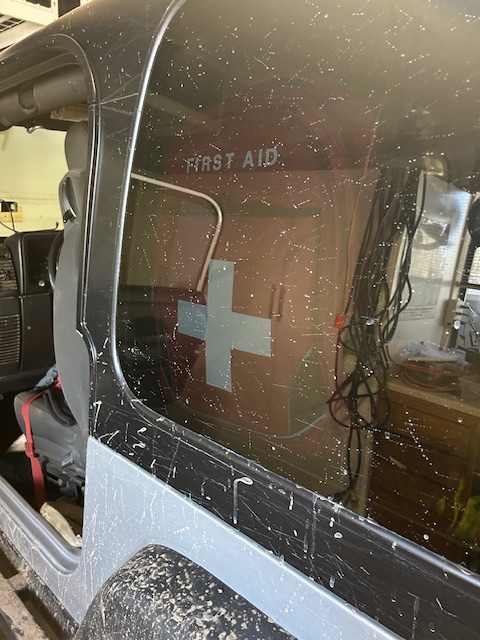
Here is where I’d like to place the bag in my Jeep. Just mocked up at the time, but by placing it here, everyone will be able to find it in an emergency.
So, here’s my challenge to each of you. Go through your first aid bag and make sure the gloves are not dried out, the tourniquet is right in front, the meds are not expired, etc.
Let’s hope we never have to use our first aid kits in this new year.
.
Rubicon Ronin
No Snow
Posted: December 11, 2025 Filed under: Uncategorized | Tags: icce, snow, winter Leave a commentOkay, there was a little bit of snow and some ice. Actually, lots of ice. I’ve been waiting for a good dump of snow to be able to go play in a foot of snow, but it hasn’t come. I haven’t waxed my skis and I have yet to get out the snowblower and prep it for the season.
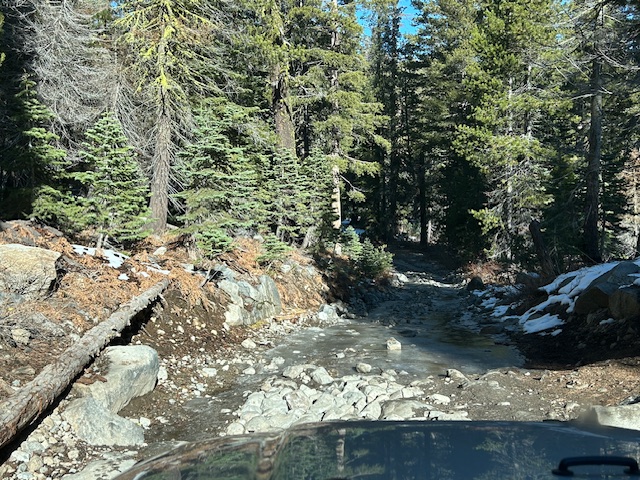
On the road in, it’s back down to pavement. But beware, the bathrooms are locked. They should be open as long as users can easily drive in to the staging area.

The first climb out of the staging area was ice covered but a simple enough climb. I didn’t bother airing down because I was only doing a short trip in to Miller Lake.
Pooling water was frozen over in some places, not in others.
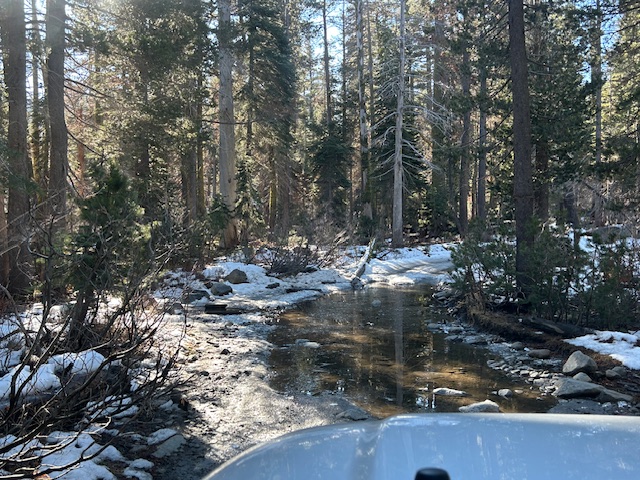
As I said, ice.

Here’s where it got interesting. Just before the end of the trail you see below, in the shade, the TJ slipped a few times. It actually got a little sideways. Locked the rear, locked the front, shifted to the side to get off the ice and on the rocks. No problem.
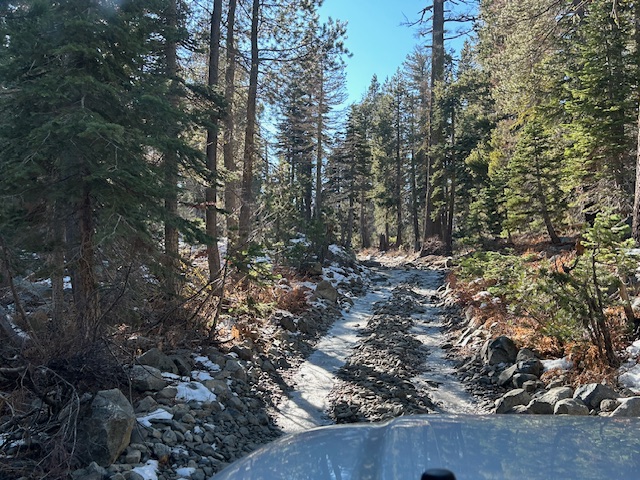
Here’s a picture coming back out. Lowest gear, very slowly.
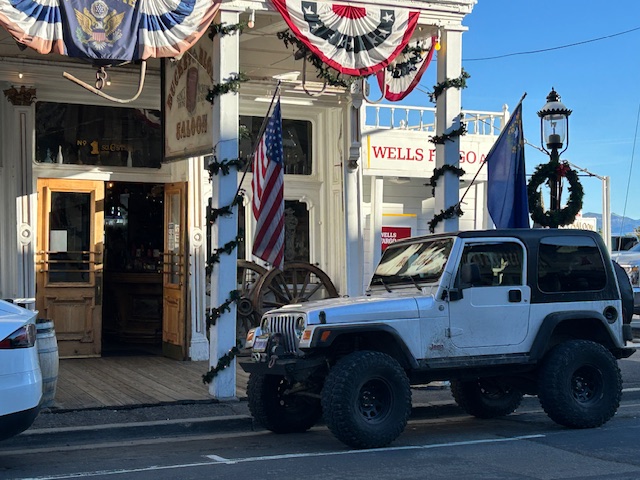
I had my nephew with me from Oregon, so we played tourist, took 89 around Emerald Bay, 50 over to Carson City and drove up to Virginia City from the Dayton side. Call us tourists, parked in front of the Bucket of Blood Saloon.
If the snow ever comes, remember, there is ice underneath. Although there is no snow in the foreseeable future, it will come. If you go out, be prepared to spend the night in below freezing temperatures.
.
Rubicon Ronin

