
J.E.E.P. actually means…
Posted: July 26, 2026 Filed under: Uncategorized | Tags: jeep, mainrtenance, repairs Leave a commentJust Expect Every Problem
Here’s a story of some of my recent Jeep maintenance/repairs over the last few months.
It started with me finally getting tired of the steering wheel being 15 degrees off. I knew I needed an alignment, but I also knew I had a few loose components that needed to be replaced before I could get an alignment.
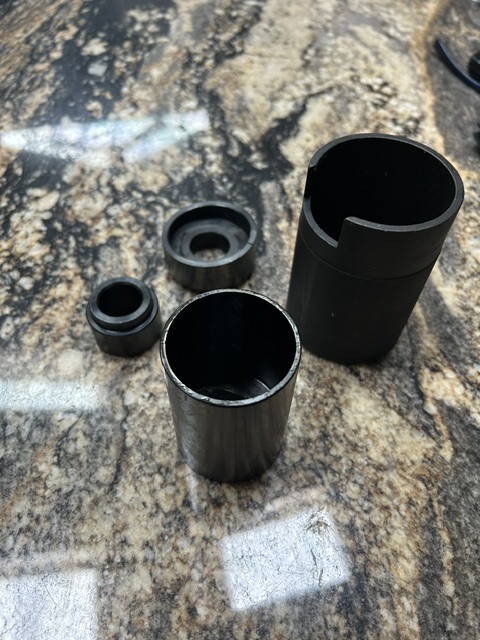
I felt very good when I actually found an extremely loose left lower ball joint. I felt very bad after pressing in the joint without power tools. I pulled a few muscles in my back. The plan was to replace the upper while I had the Jeep apart, but I bailed on that when I hurt my back. (remember this for later) I didn’t play golf for almost a month! A very unprofessional, DIY alignment later and I was on the road. Once on the road it didn’t feel much better.
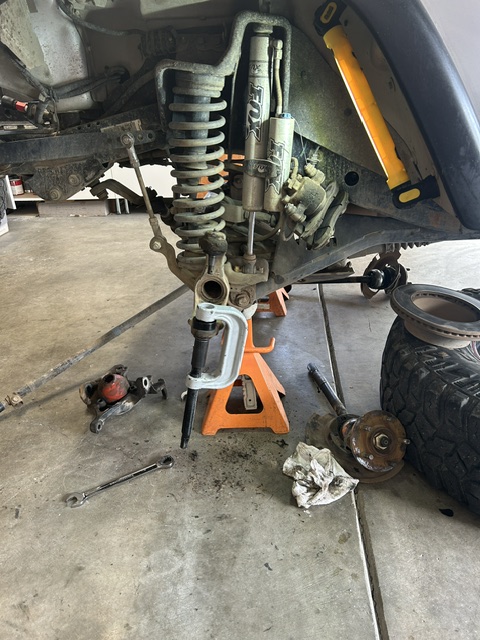
The Jeep specific ball joint kit off Amazon really helped!
An oil change at Nate’s (did I tell the new engine story?) brought on the discovery of a bad wheel bearing. He wouldn’t let the Jeep leave the shop without it being fixed, it was so bad. And I had just got back from an Eldorado Canyon run; Dayton and back!
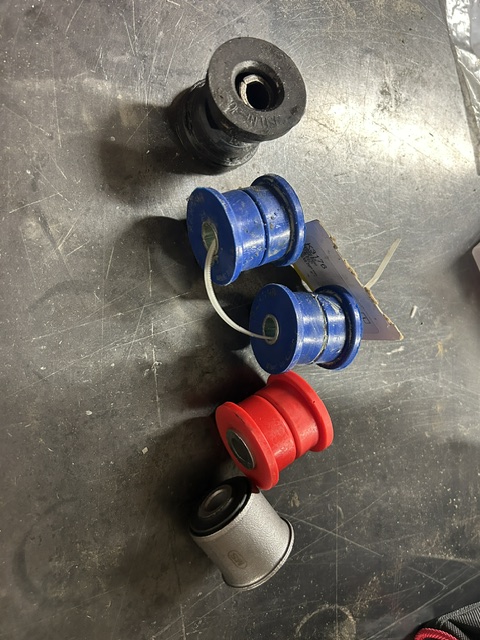
Soon there after, I discovered worn track bar bushings. Replacing the bushings, and again doing a home alignment, I was back on the trail. Multiple trips to the Rubicon, no issues. I had found all my issues. Black – worn out, blue – wrong bushing, red – same weak type from JKS, metal – press in bushing will be the go-to from now on.
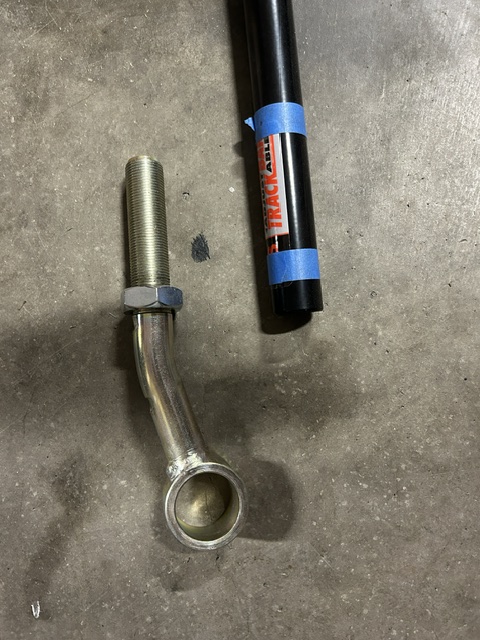
New JKS adjustable track bar I will need to shorten by 3/4″. I’ll tell that story when I install the new track bar. Winter project.
Sadly, death wobble appeared on the road home on trip number four. It was time for a professional. I went to Ayre’s for an alignment.
At Ayre’s, they found that the NEW track bar bushings were again toasted. Probably beat up during the death wobble. If that weren’t bad enough, the metal openings on the stock track bar for those bushings had been worn open so the solid bushings would not seat properly. I had them tack weld the solid bushings in place and I ordered a new JKS adjustable track bar.
But wait, there’s more. Remember the upper ball joint I declined to replace? It was bad and needed to be replaced. I don’t like paying someone for something I can do myself, but it was literally on the lift at the shop. Professional alignment done, steering wheel (almost) straight. I’ll have to wait on the new adjustable track bar until winter. If I do it now, I’ll need another realignment.
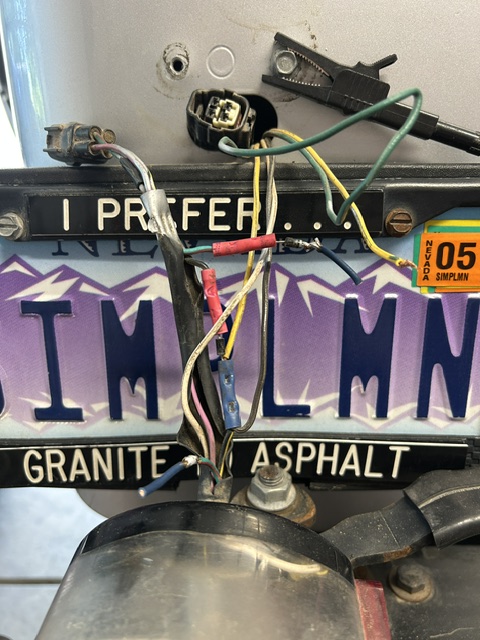
As I planned a maintenance trip to the Rubicon Trail, (Paving the Rubicon! | The ‘Other’ Rubicon) I hooked up my trailer and checked the trailer lights. I happened to notice the TJ’s left brake light was out. What a rabbit hole. It was not a bad bulb.
I thought I found an intermittent short with the exposed wire. I covered it up, put it all back together and still had no brake light! Then I took it all apart, again.
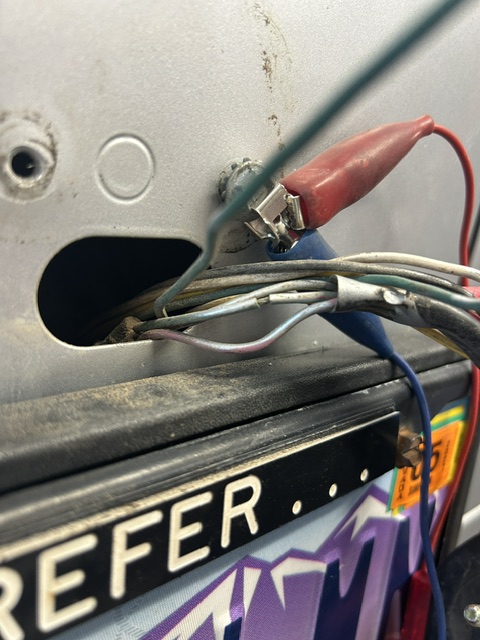
Because my TJ is set up for flat towing. That means the previous owner had tapped into the wiring and complicated everything. I fought trying to get the brake light to work while it was hanging by its wires. I had provided a ground. In the process, I broke a diode from the towing wires. I miss Radio Shack. It was a chore to find a diode. With a hint from a friend, I ran a tap through the three mounting holes in the Jeep and wire brushed the bolts before reinstallation. Bottom line, bad ground, lights work!
A few trips later, I decided to address yet another purely Jeep issue. The slow fill gas issue. It’s well known that the anti-spill feature has three nubs that get hung up and do not allow for a quick fill. It’s a free fix but you have to drop the tank, get inside, take apart the check valve and then put it all back together.
Remember: Just Expect Every Problem?
Dropping the tank is not really difficult. But don’t drop it, while you’re dropping it. I had my tank slip off the jack stand. The fuel line was still attached and when it went taunt, it broke off the plastic pipe of the fuel pump, holding the fuel line. That was a $200 mistake!
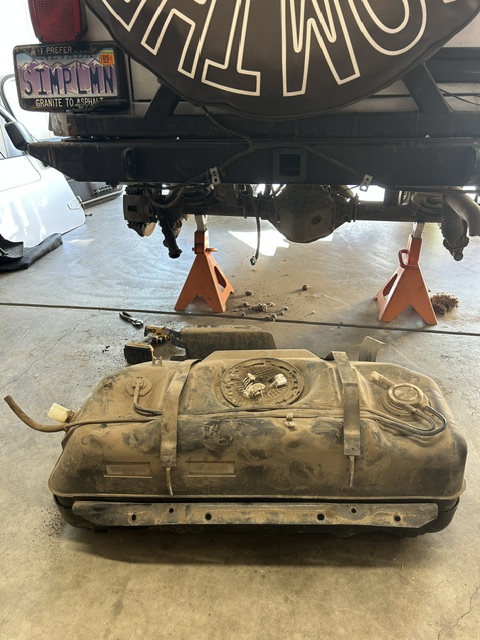
Broken $200 fuel pump.
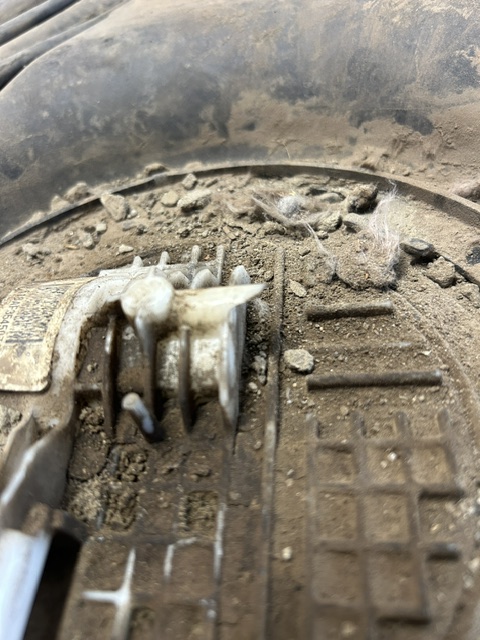
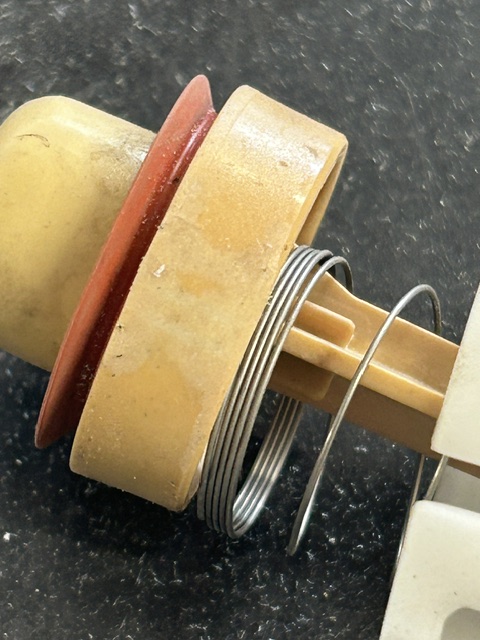
Anti-spill float device. Note double “nub”. There are three of those pairs of nubs that need to be removed. I’m told there are a few different versions of this float but all have the same issue with the centering nubs getting caught up.
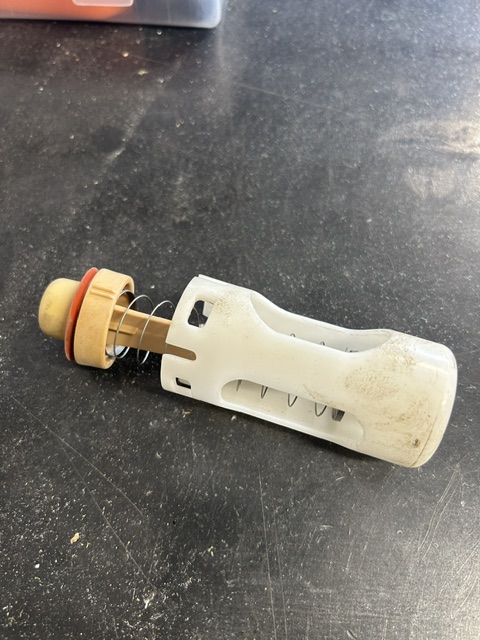
“Nubs” ground flat. No more binding!
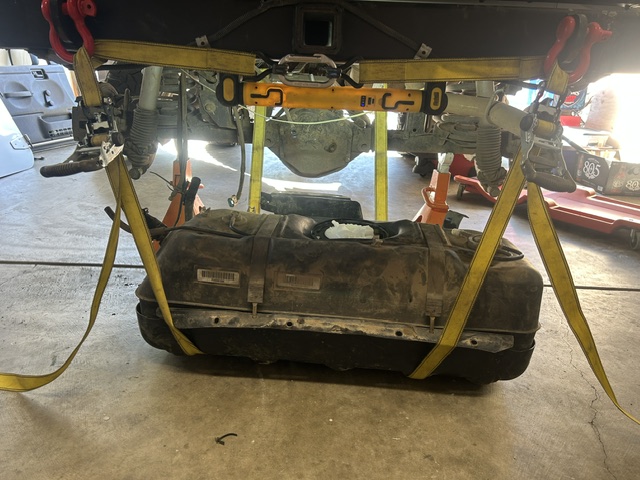
Replacing the tank required a better system than a floor jack. The dual ratchet strp system along with the floor jack worked very well.
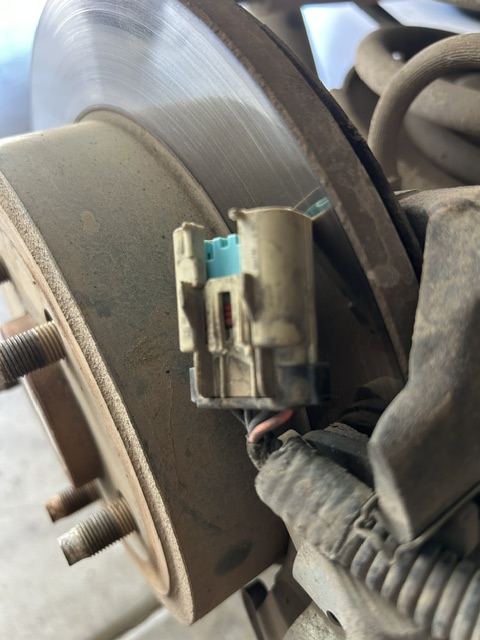
But it wasn’t only the fuel line I had issues with. When I went to disconnect the electrical connector, I slide over the red tab and then pressed down to unlock the connector. It broke. I went straight to the screwdriver and ‘manually’ freed the connector. I then ordered a new one online.
Old and new. The colors of the wires didn’t match but I didn’t care.
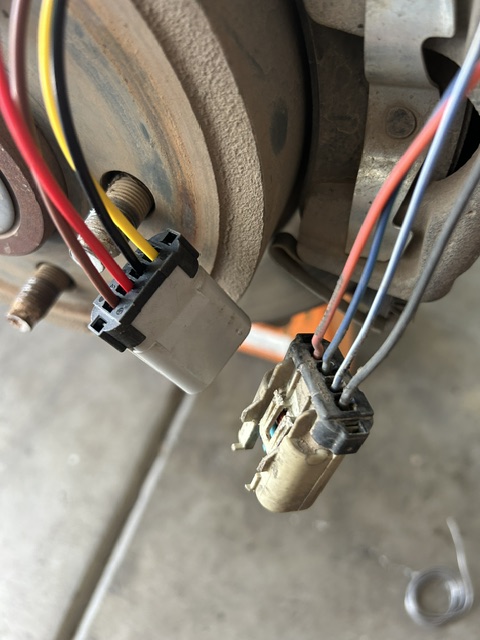
I soldered the wires to the existing wires rather than put the old wires into the new connector. One, I didn’t want to mess with the connector and two, this gives the wire loom more length to easier lower the tank next time. I hope I never have to lower this tank again. The shrink tubing is longer than it needs to be but I went longer for better protection.
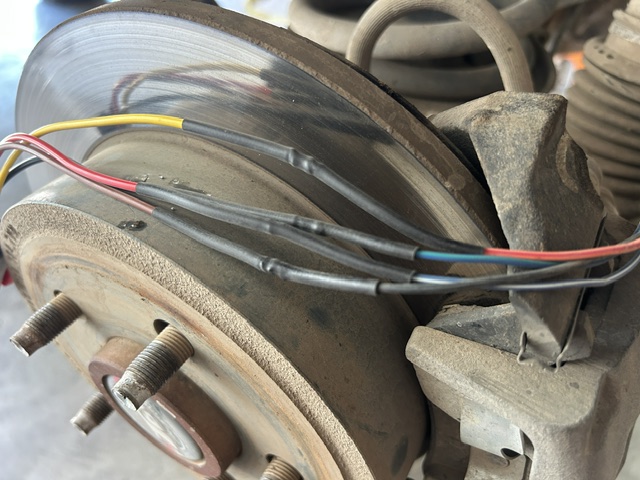
The Jeep is now all put back together. For now. The tank is full and it filled without having to hold the lever at half speed.
I’m now ready to escape the 100 degree temperatures in Reno next week for the cooler high 80’s of the greater Tahoe area.
.
Rubicon Ronin
TJ Update
Posted: December 16, 2024 Filed under: Uncategorized | Tags: jeep, Nate's, repairs, TJ, transmission 1 CommentLet me start with an apology. I’m sorry I’m not posting more about the Rubicon Trail and the side trails in the area. I realize that is the goal of this website blog. The reality is that I’m not getting up to the Rubicon as I once did. I will make an effort to post more trail related stuff moving forward, but not today.
In order to get out on the trails, I need a functional Jeep. A very good friend of mine (no names) has been hugely involved in the Rubicon Trail over the years and he has walked the trail more than he’s driven the trail in recent years as his rig is always under construction. I want to drive it. And I want to drive it now.
Now, I could have taken on the repair of my TJ myself. Not needing to do a lot of snow wheeling, April would be a good deadline. But I wasn’t looking forward to 20-30 hours flat on my back under my Jeep. I’m a slow mechanic. If I had done the repair, I would always be second guessing if I torqued that bolt correctly or if I had caught all of the damage. What if I had parts left over? No, time for a professional!

The unassuming photo above is of Nate’s Precision LLC in Sparks, Nevada. They came highly recommended from many people within the Reno 4×4 community. For the record, I am NOT being compensated by Nate’s for any of this work in exchange for being mentioned here. I’m paying full price and it’s a BIG number.
Below is the mechanic about to drive my TJ in to the operating room.
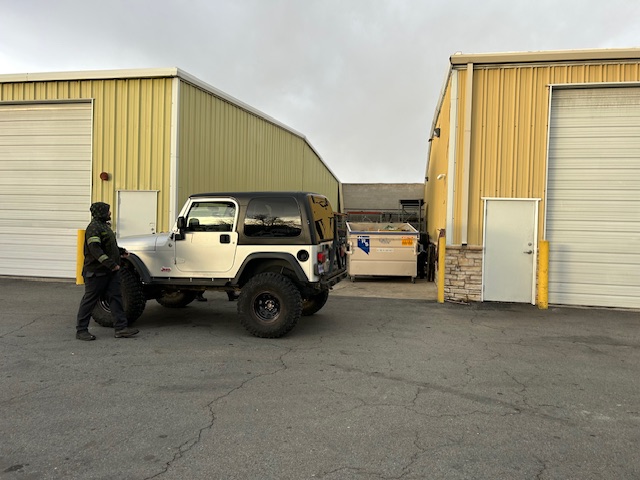
And here my TJ will remain until it’s fixed.
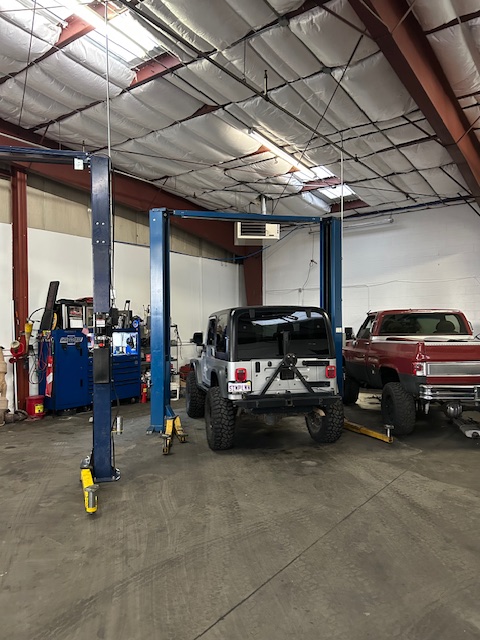
So, new transmission from Jasper’s. It comes with an external cooler but I’m also adding a larger ribbed pan (forgot the maker, I’ll look for the name and add it later). Rear main seal while it’s accessible, it was starting to leak. New starter as the lower mount tab had broken. Hopefully, they don’t find further damage. Probably a new crank position sensor, as it had thrown that code. Who knows what else.
The good news, they think it will be done by the end of the week!
Stay tuned,
.
Rubicon Ronin
New Toy, Jeep not Toyota
Posted: December 24, 2020 Filed under: Travel | Tags: jeep, new, project Leave a commentSo, I wasn’t looking for another Jeep.
After a strange set of communications, I finally got in touch with my neighbor at Tahoe. He had a Jeep he wanted to sell and was looking for help with pricing it and where to advertise it.
I tried to tell him it was worth more than he thought and to start high with a price. You can always negotiate down but not up. Before I had time to find him some local comps, he had put it up for sale on Craigslist. He started low.
When I finally got on the phone with him, I said if it’s still available on Friday, I’ll pay your asking price. This was Tuesday. It was priced WAY low and I had no reason to think it would still be available.
He started getting calls and email from all over. The first one was a scam from the east coast. They even sent a bad check for him to cash.
On Wednesday afternoon, he called me and told me all these stories. He said he didn’t want to bother with returning the calls and emails. If I still wanted the Jeep for his asking price, he would hold it for me. I had to say yes.
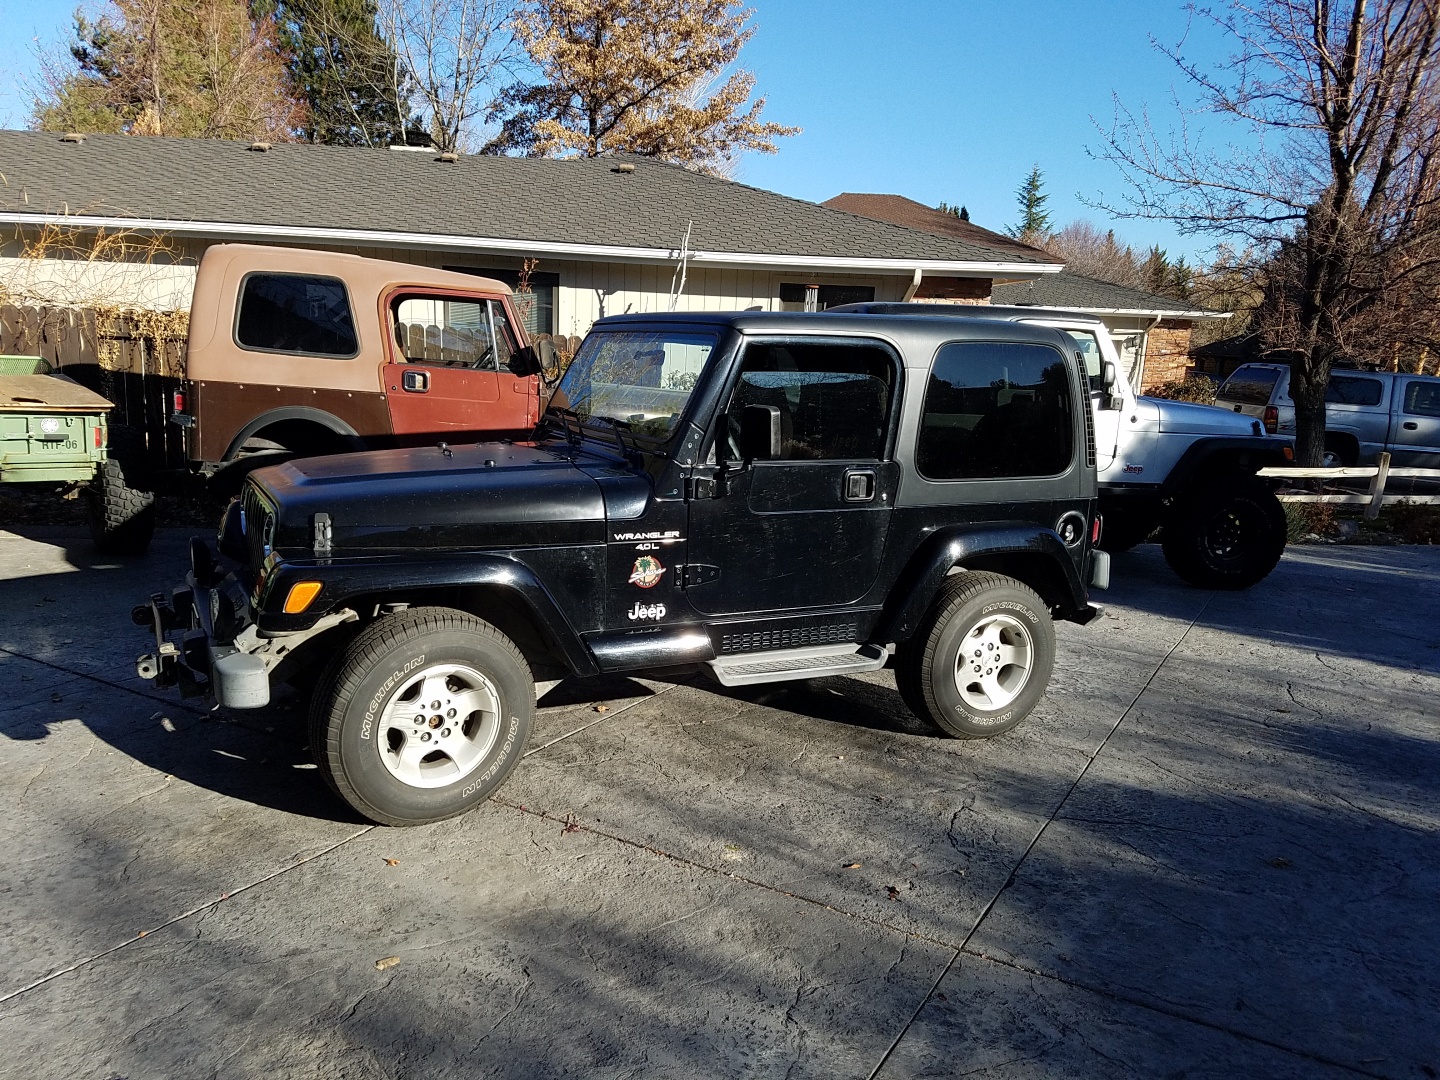
Okay, I needed a third, yes third, Jeep like I needed a hole in my head. I mean look at it. It’s a toy. It’s tiny. A sagging stock suspension and 28″ tires! I was embarrassed to drive it in public. The previous two Jeep are in the background. The trail TJ and the project CJ.
In comes Extreme Terrain. A 2.5″ Rough County lift kit. It’s only eight pieces, how hard can it be?

Like any other Jeep project, it fought back. I figured a 2.5″ lift wouldn’t need a spring compressor. I had a coil compressor if needed. Well, I needed it. But mine was an internal coil spring compressor. A quick trip to Harbor Freight and I had a spring compressor.
With the help of a good friend and fellow Lake Tahoe Hi-Lo, we got the lift kit installed.
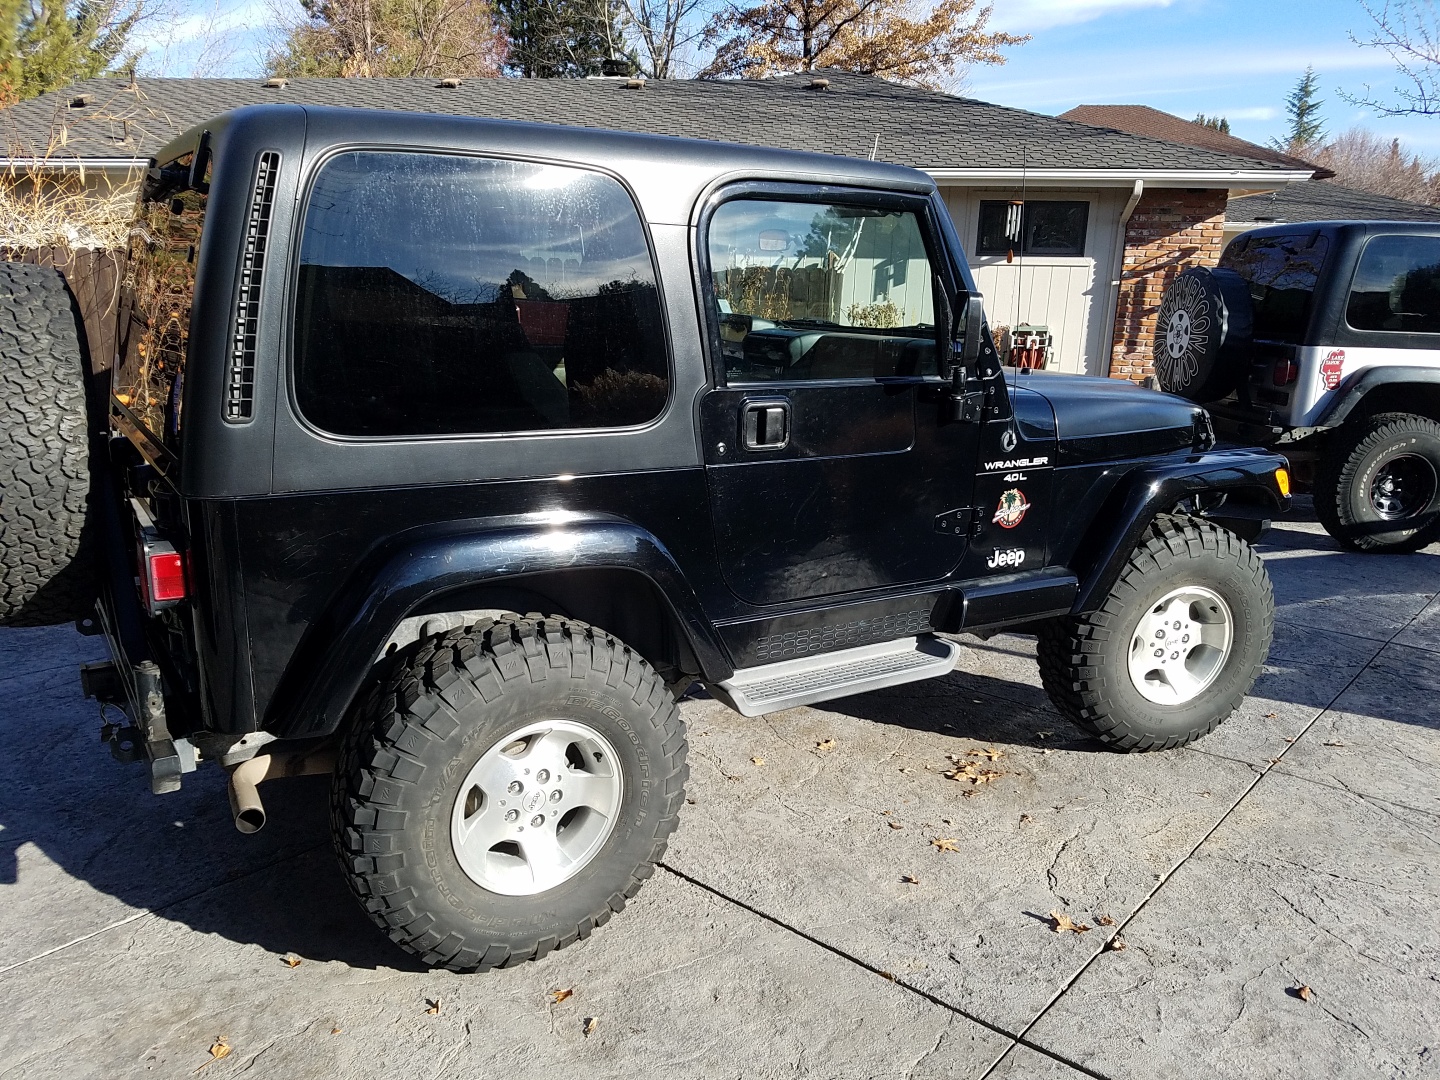
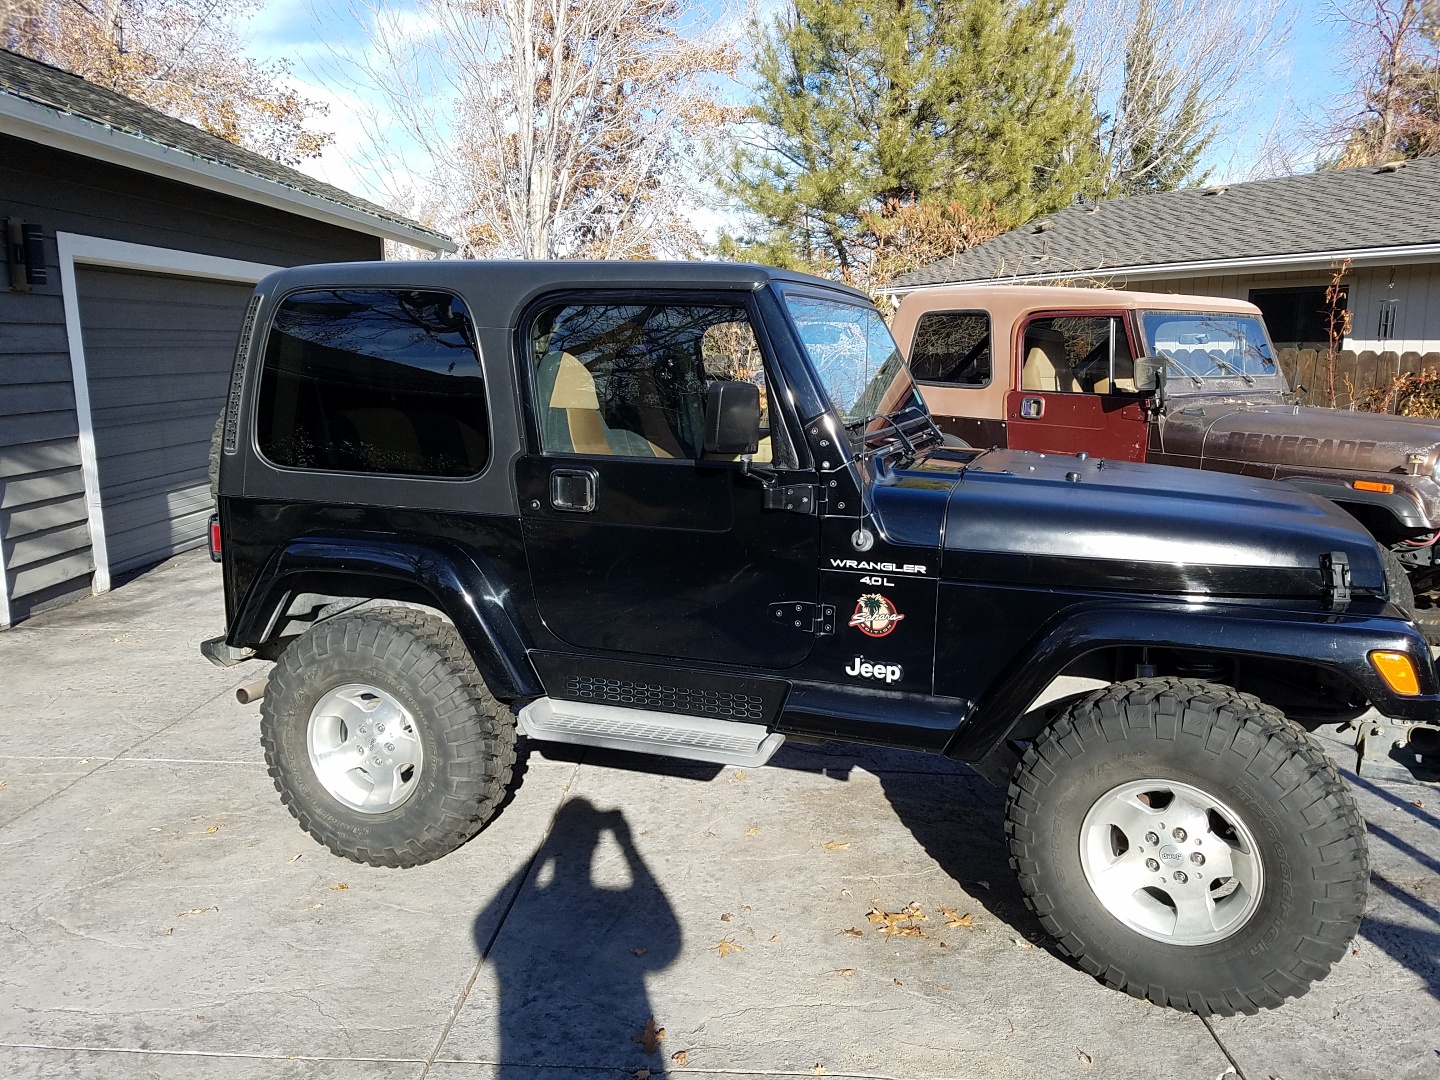
I had a set of 33×10.5 BFG All Terrains on steel rims on hand so we drove around the block on those and called it good for now.
When I finally got around to installing the BFG Mud Terrain tires on the stock alloy rims, I noticed the lift kit had shifted the rear axle a little too much to the right. It happens with the lift and a stock track bar. No problem, I’ll find an adjustable track bar and throw it in.
Well, I lucked in to a deal on a Rough County adjustable track bar, but the install was not straight forward.
The first bolt I went for was holding the track bar in the bracket on the axle. It takes a Torx bit, but the socket I had it on was so long I could not get a wrench in it because the gas tank was in the way! Another example why every automotive designer should spend three years working as a mechanic before being allowed to design a car.
With a 10mm box end wrench around the Torx bit itself, and a rather long cheater, I got the bolt loose. Upon assembly, I put in a grade eight hex head bolt.
Without instructions, I had it in backwards the first time and upside down the second time. But I finally won.
The stock front bumper was replaced with an aftermarket one that came with the Jeep and matches the rear bumper. Both have a 2″ receiver built in.
The carpets were removed, tub cleaned, carpets vacuumed and reinstalled. New radio, seat covers and shifter boot. Then the cleaning of the exterior.
Everything looks great except for the hood. The previous owner had some kind of chemical spill on the hood and had to repaint it. He used not only a spray can but he chose FLAT black instead of gloss.
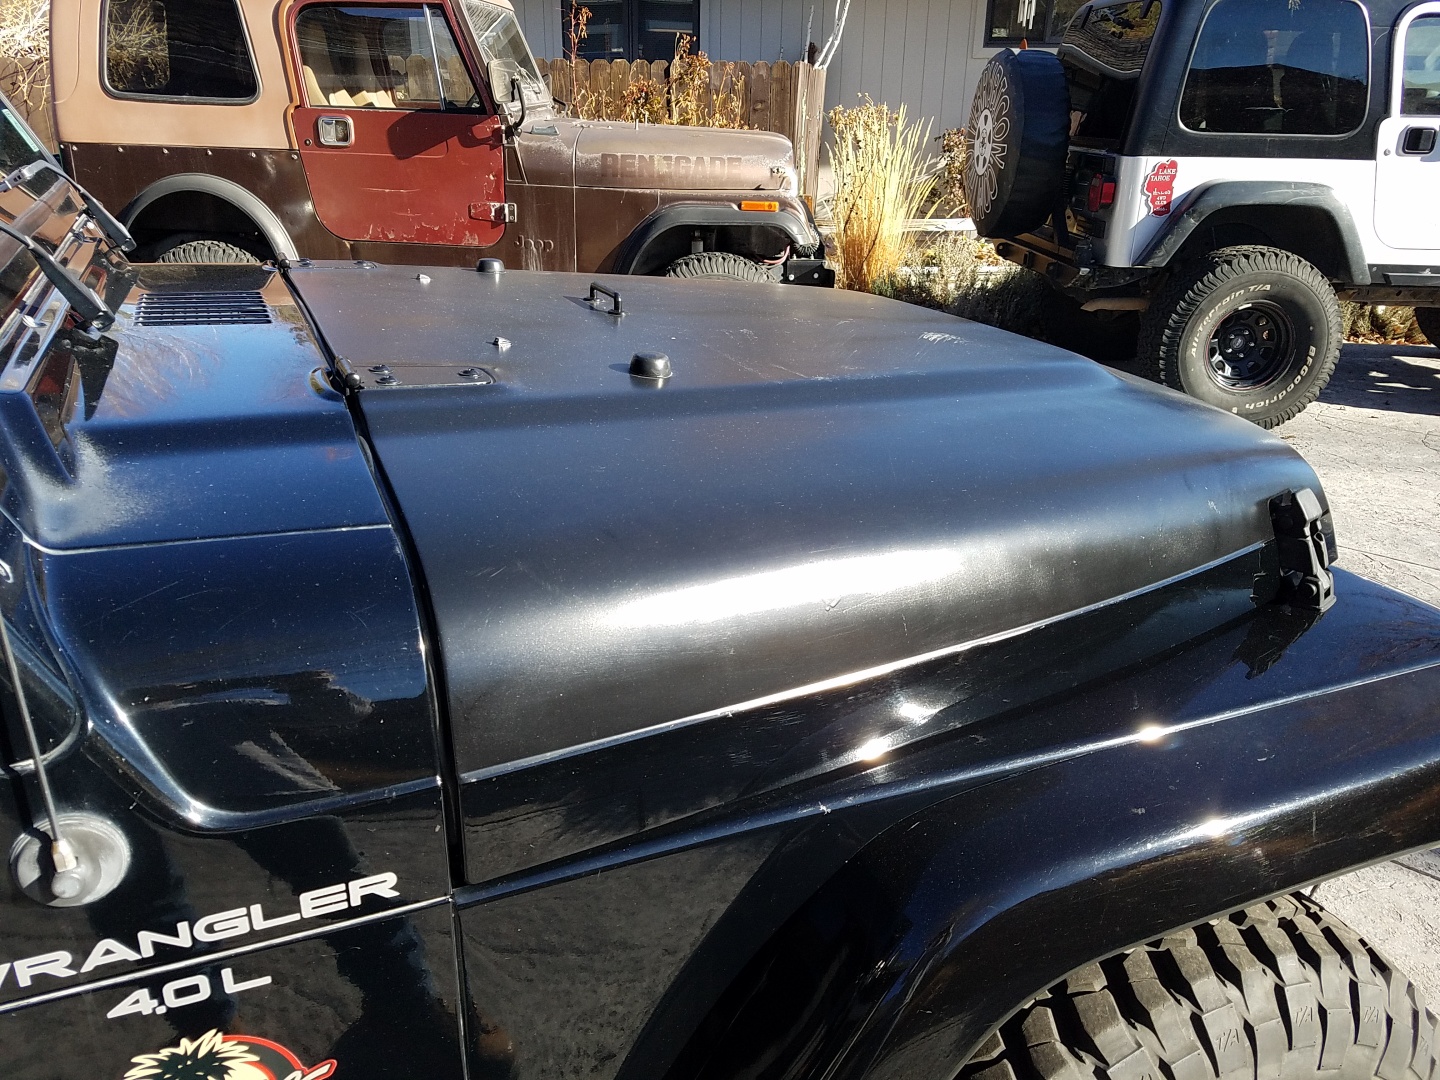
Although I will repaint the hood, someday, the flat black does reduce the glare you usually get off the gloss paint.
What’s your next project?
.
Rubicon Ronin
Winch installation
Posted: June 8, 2018 Filed under: Uncategorized | Tags: jeep, recovery Leave a commentSo, it’s been a long time coming but the winch is finally mounted.
So this is the ‘project’ Jeep. I thought a simple project like getting the winch mounted would be quick and easy and a good motivator for the next step, replacing the leaking freeze plug.
It’s a Warn HS9500i. I got a screaming deal. Sneavy’s Off-Road was the source for the winch line. It’s mounted on a Warn winch plate with a modification. I’ll need to get out and re-wind the winch under a load to get it tight.
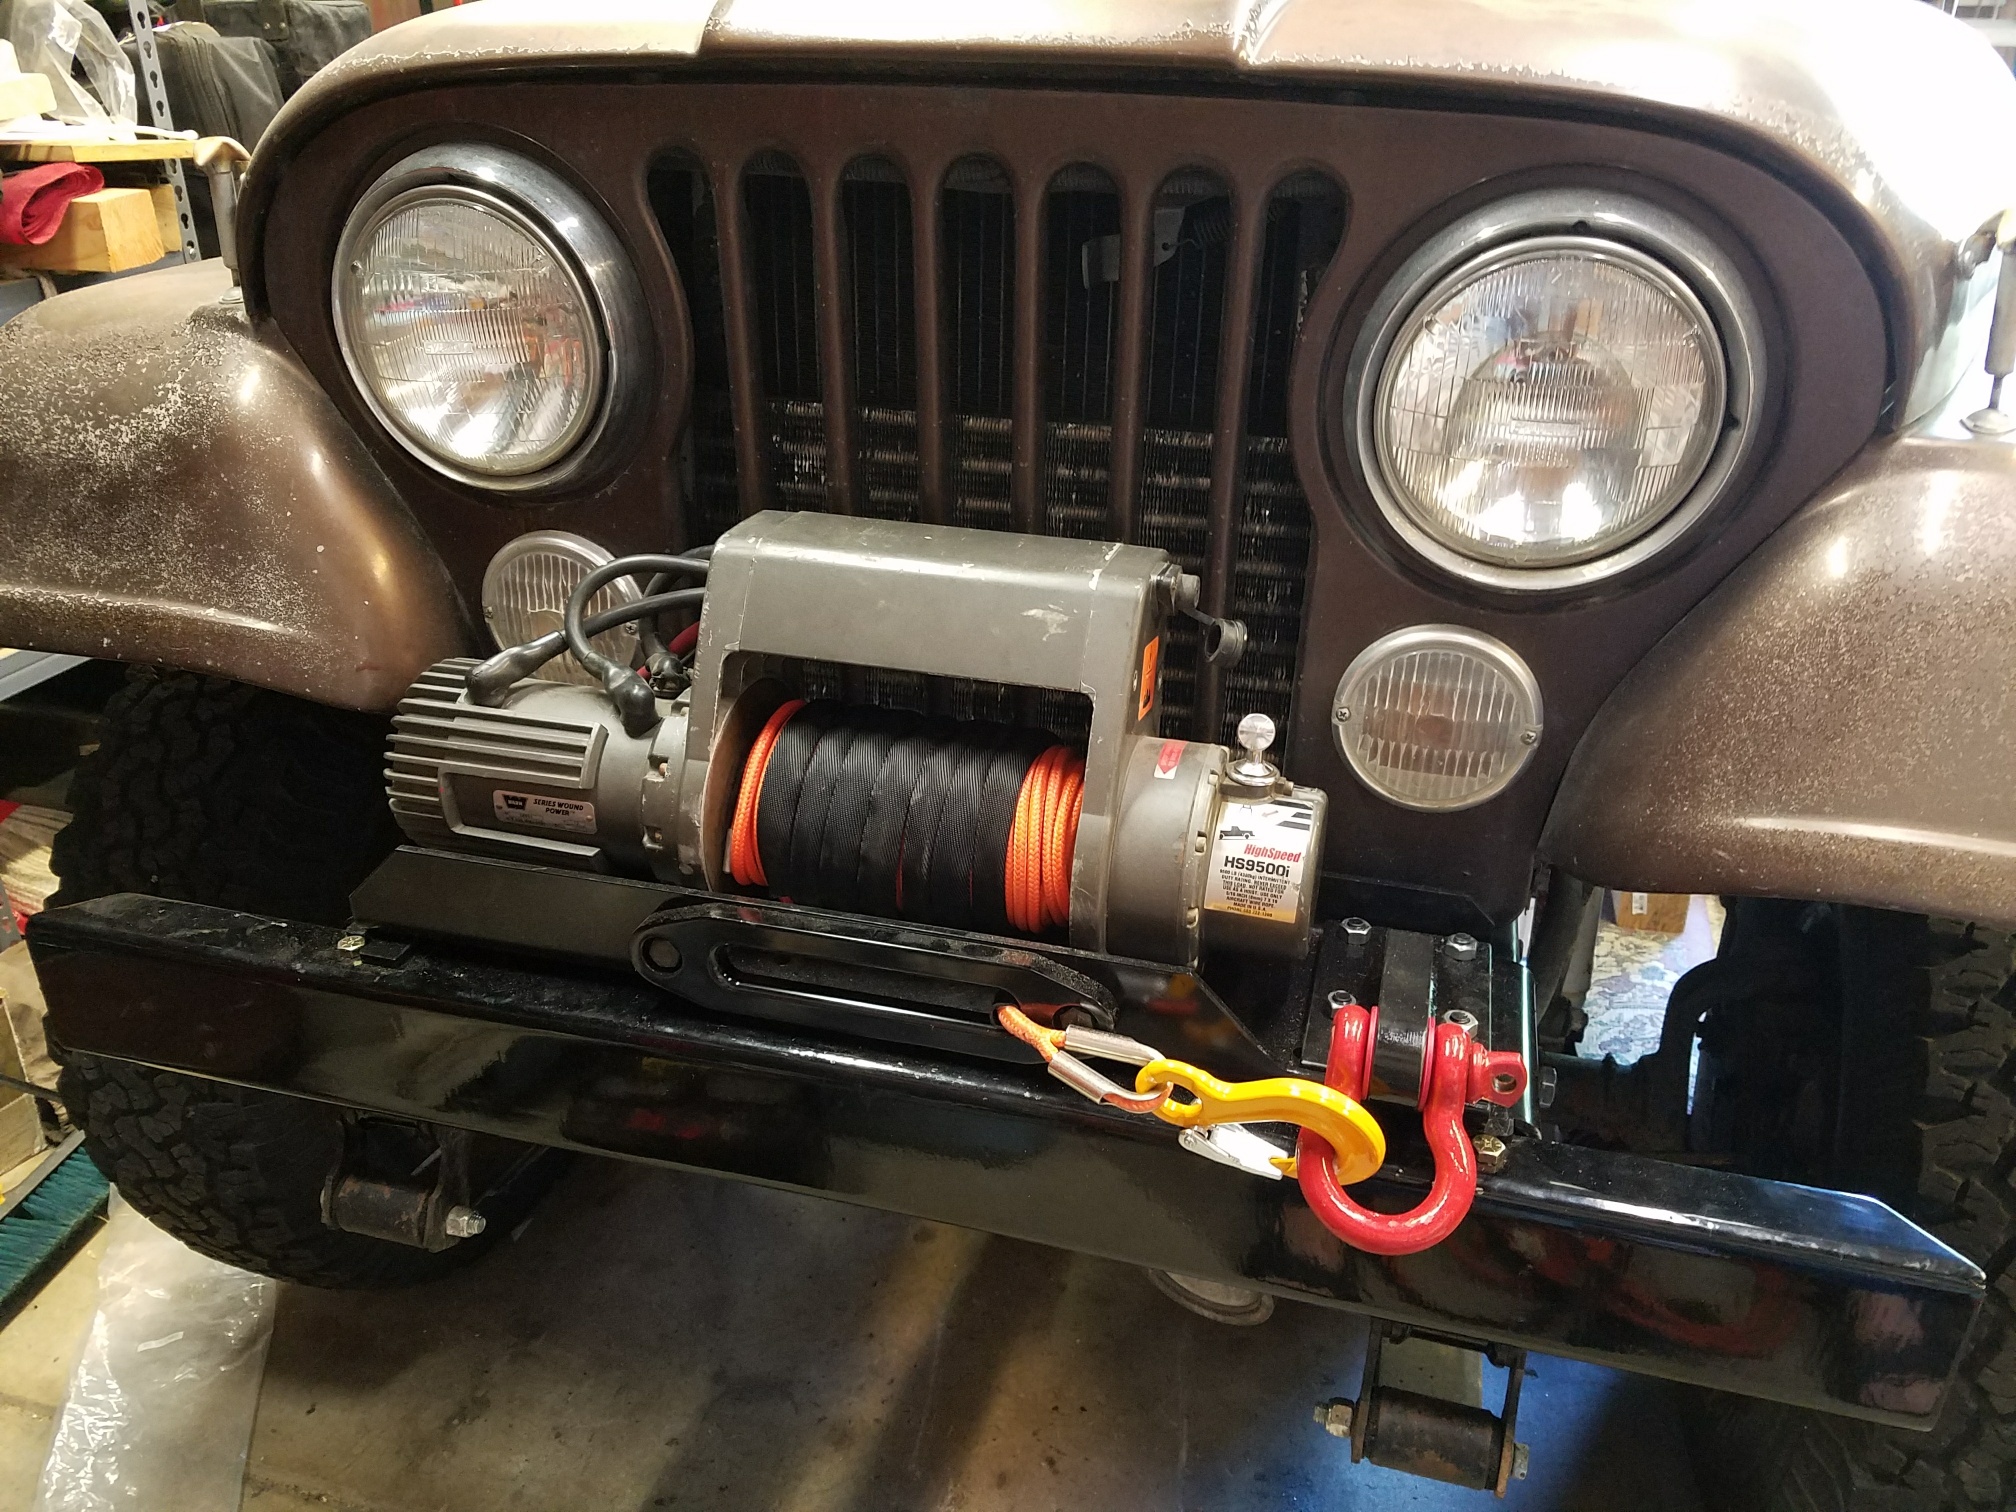
With it being a high speed winch, and looking to double the capacity of the pull, I often use a snatch block. On the current trail rig, there is a standard hook that I connect back to on the winch.
On this install, I decided to upgrade to a D-ring. I had to cut down the face of the winch plate for better access to the D-ring. I cut a 1/2″ plate to size and bought a D-ring mounting point online.
I outsourced the welding because although I can weld (sort-of), I didn’t want to have second thoughts every time I used the D-ring.

This project took WAY too long, but don’t they all. Although it looks like a stock bumper, It’s actually a 1/4″ plate bent to look stock. I cut down the bumper to 46″, that’s like 4″ off each side of a stock bumper. Then I had it powder pointed.
For those looking REALLY close at the details, yes, I still need to snug up the frame bolts.
Not sure where the front license plate will mount, if it gets mounted. Maybe just a magnet mount somewhere for to and from the trail.
Now to move on to that freeze plug.
Rubicon Ronin


